
Acoustic Treatment Fundamentals for Podcast Recording
Have you soundproofed your podcast studio yet? Let’s try a little experiment, shall we? Go into a room, any room, close the door, close the windows, the closet or any other opened spaces, and yell. The words don’t really matter, heck you can sing the alphabet if you’d like, just do it at a good volume. Maybe not turned up to eleven, but loud enough.
Now, open the door and tell your family, roommates, or neighbors everything is okay. Whatever you just yelled out, it was probably loud and echoed off the walls and surfaces, filling the space around you, right? Now do the same thing, but this time place a pillow, blanket, towel, anything soft and cushy over your mouth before you yell. Do you hear the difference? You have just used your very first acoustic treatment.
Kind of rudimentary, but you get the point. When you yelled without the cushy object over your mouth, there was more noise reflecting back at you. Your voice bounced off the walls, the hard surfaces, even the ceiling and came back at you, creating a sound wave that continued to bounce around the room before it faded away.
With the soft object over your mouth you “deadened” the sound wave. Now you obviously aren’t going to record your podcast with a pillow over your mouth, that would be silly, and make it very hard to breathe. The point is, you hear the difference. This difference is the reason you want to create an acoustic treatment.
Designating Your Podcast Recording Studio/Space
Have you mapped out a permanent podcast recording space? Will it be in our bedroom, your office, the kitchen table, or even your car? You must first determine where you will record, before you actually begin recording. Determining this space will take a little consideration. If you plan to do an interview, or you have a roundtable format, your private bedroom may be uncomfortable for your guests, especially all crowded under the sound absorbing crochet blanket.
However, the kitchen may not be your best bet either, too many hard surfaces. Your car is a good option for acoustics, but depending on how many people are participating, the climate, and electricity source, it may not be the optimal location. Let’s face it, most everyday spaces are not reverberation proof. No matter where you choose to record, you’ll need some type of acoustic treatment to “deaden” the reflecting sound waves. This determination is equally as important as every other one we have discussed thus far.
Techniques for Acoustically Treating Your Studio/Space
I am sure you have seen sound rooms in movies, on television and on vlogs. When you see these, keep in mind you do not need to spend thousands of dollars to achieve the effects these rooms have on recording. Treating your recording space for acoustics is not the same as soundproofing a room. Your goal is to keep the sound waves from bouncing all over like a rubber bouncing ball, not so much keeping the sound of your show out of the ears of people in the general surroundings.
Flat, hard surfaces are not your friend. You will want to soften these with sound absorbing materials. Your car can be a good option, as most cars have cushion and interior throughout, but again, your vehicle isn’t the most optimal working space. You can also tuck yourself into a closet. The small space filled with clothing and whatnot can also absorb sound. However, again, it is not an optimal working space.
Another method, that is inexpensive, would be hanging blankets around your work space, not sheets, but quilts, and thicker blankets. Kind of like the forts you used to build in your living room. If you live alone, then this could be a treatment you are able to use and not have to put up and take down each time you record. If you don’t live alone, have animals or small children, you may want to investigate an alternative option.
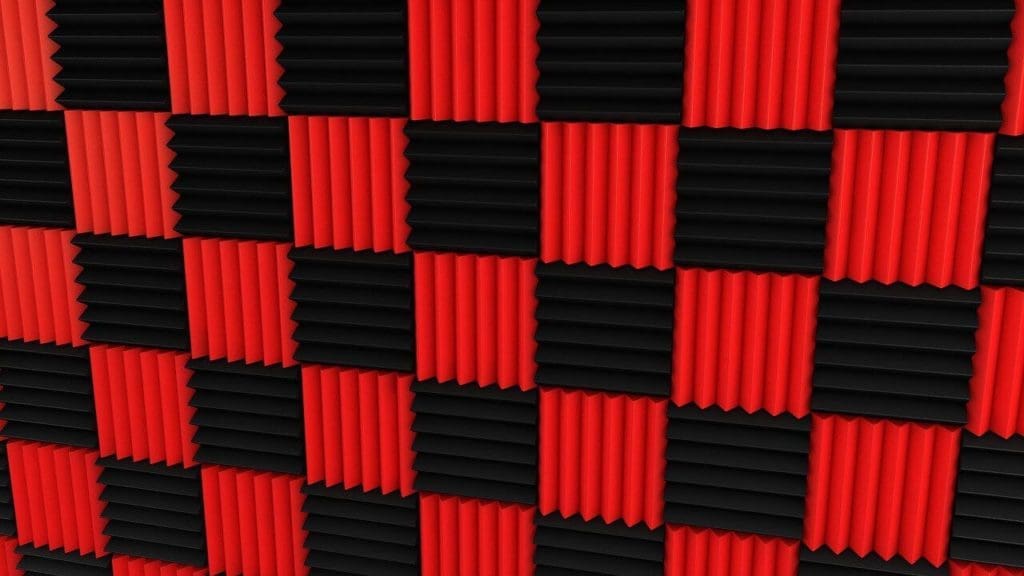
A good, inexpensive option is to purchase foam. You can buy rolls of egg crate foam, or purchase acoustic panels in the size that works best for your space. A good thickness, to search for, would be no less than two inches when buying this material. Hobby shops, and some super centers will have egg crate foam, and you can easily find acoustic panels online from such places as GIK Acoustics.
Equipping Your Studio/Space for Acoustic Treatment
When it comes to the actual set up, placing your acoustic treatment, there are some key steps to remember.
- First determine which way you will be facing. Once you know that fact, you can add treatments to the right and left of your space.
- The next space to treat would be behind you, and afterwards, if you have enough foam, place it on the ceiling above you as well. You’ll want to consider an interior room, if at all possible. You’ll also want to use a room with soft items in it. Do not use an empty room without carpeting, with lots of windows, and no soft furniture. You can actually choose a room that has creature comforts like a sofa, chair and even decorative fluffy pillows, if that’s your style. These items aid in absorbing sound waves.
- Once you have mapped out your space you can begin to place your foam panels. I recommend that you do not glue these panels directly to your wall. You can adhere them to other surfaces and hang them or tack them, such as poster board, cardboard or other lightweight material. You can also use clips, wire or cord, to attach panels to the wall, or attach picture hangers. Gluing them directly to your wall is only going to cause you grief when it comes time to remove or replace them.
- No matter where you choose to record, you’ll want to test the space first, and then treat it accordingly. This step will help you in building the continuing pillar in your Four Pillars of Podcasting, as well as give you a more professional and enjoyable sound to your podcast creation.
- Once you have accomplished this step, and those that came before, we can get this show…your show…under way.
Additional Resources
Are you ready to put what we have learned so far into action? If so, you are ready to play with some of the recording software. That will be next week’s post, but for now grab a glue gun, staple gun, and your cushy surfaces and start treating that space like it should be treated!